Cardboard boxes belong to the premium class of packaging. A custom-made box for exclusive products emphasizes the status of the goods, increases customer loyalty to the brand, and allows the manufacturer or seller to add a good markup to the price.
Rigid cardboard boxes are used for packaging jewelry, perfumes, clothing, shoes, electronics, premium alcohol, confectionery, valuable gifts, souvenirs, and so on.
The base of the boxes is a solid cardboard. Depending on the size, required rigidity, and the item to be packed inside, the thickness of the cardboard is chosen from 1 to 3 mm. The base is covered with various materials (liners). It can be paper, cover materials on a paper basis, fabric, leather, velvet, and suede.
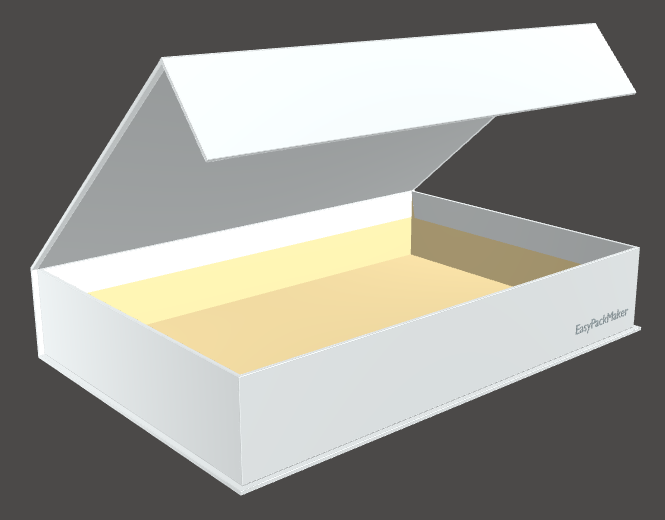
Cardboard boxes with a rigid base can be conventionally divided into three main groups – "Trays" (including "Lid-Bottom" type packaging), "Book-style Boxes" and "Slipcases".
Assembling packaging from rigid cardboard
For high-quality assembly, at the production stage you should pay attention to the direction of the cardboard fibers and which side is top/bottom. For rigid cardboard, use a Half Cut at the folds to cut through the material to about 2/3 of its thickness. When cutting by hand, use the same rule. To ensure precise alignment of the elements, apply markings to the inside of the wrapping material.
V-Cut
Unlike a Half Cut, which is made from the outside of the box, a V-cut along the creasing lines is made from the inside, without separating the base elements. In this case, the internal dimensions of the finished product are reduced by approximately twice the thickness of the Rigid cardboard.
Tray (or magnetic closure Tray), Box lid, or Slipcase:
1. Place the rigid cardboard blank with the inside outwards

2. Fold the side flaps outwards

3. Fold them until the corners meet

4. Tape the corners or use superglue

5.1. Apply glue to the wrapping material using a glue applying machine

5.2. Or manually

6. Make sure side with the glue is facing outwards

7. Place the rigid base in the center. Use guidelines

8. Place magnets into the holes if they are provided in the design

9. Glue the sides one by one

10. Wrap and glue the top flaps inside

11. Wrap and glue the side flaps

12. Glue the remaining sides. The tray is ready

Box with a Hinged Lid (Book-style Box):
1. Apply markings to the inside of the wrapper

2.1. Apply adhesive to the wrapping material on the marked side using a glue applicator machine

2.2. Or manually

3. Make sure the side with the markings and glue is facing out

4. Place the rigid cardboard pieces one by one on the wrapping material, using the markings

5.1. Insert magnets into the holes if they are provided by the design

5.2. Instead of magnets, you can use a strip of thin magnetic material. In this case, do not make holes in the rigid cardboard

6. Fold and glue the sides of the wrapper one by one

7. Apply glue to the inner blank

8. Adhere the inner lining to the cover on the inside

9. Apply glue to the bottom of the cover

10. Place the tray in the center. Make sure the magnets are on the front

11. Glue the back side as well

12. Make sure the magnets (magnets and the tin) are aligned

13. Close the front wall.
The book-style box is ready
